
Pre‑Ride Safety Checklist
Tires, brakes, lights, fluids, and controls, the five essentials every rider should check before rolling out.
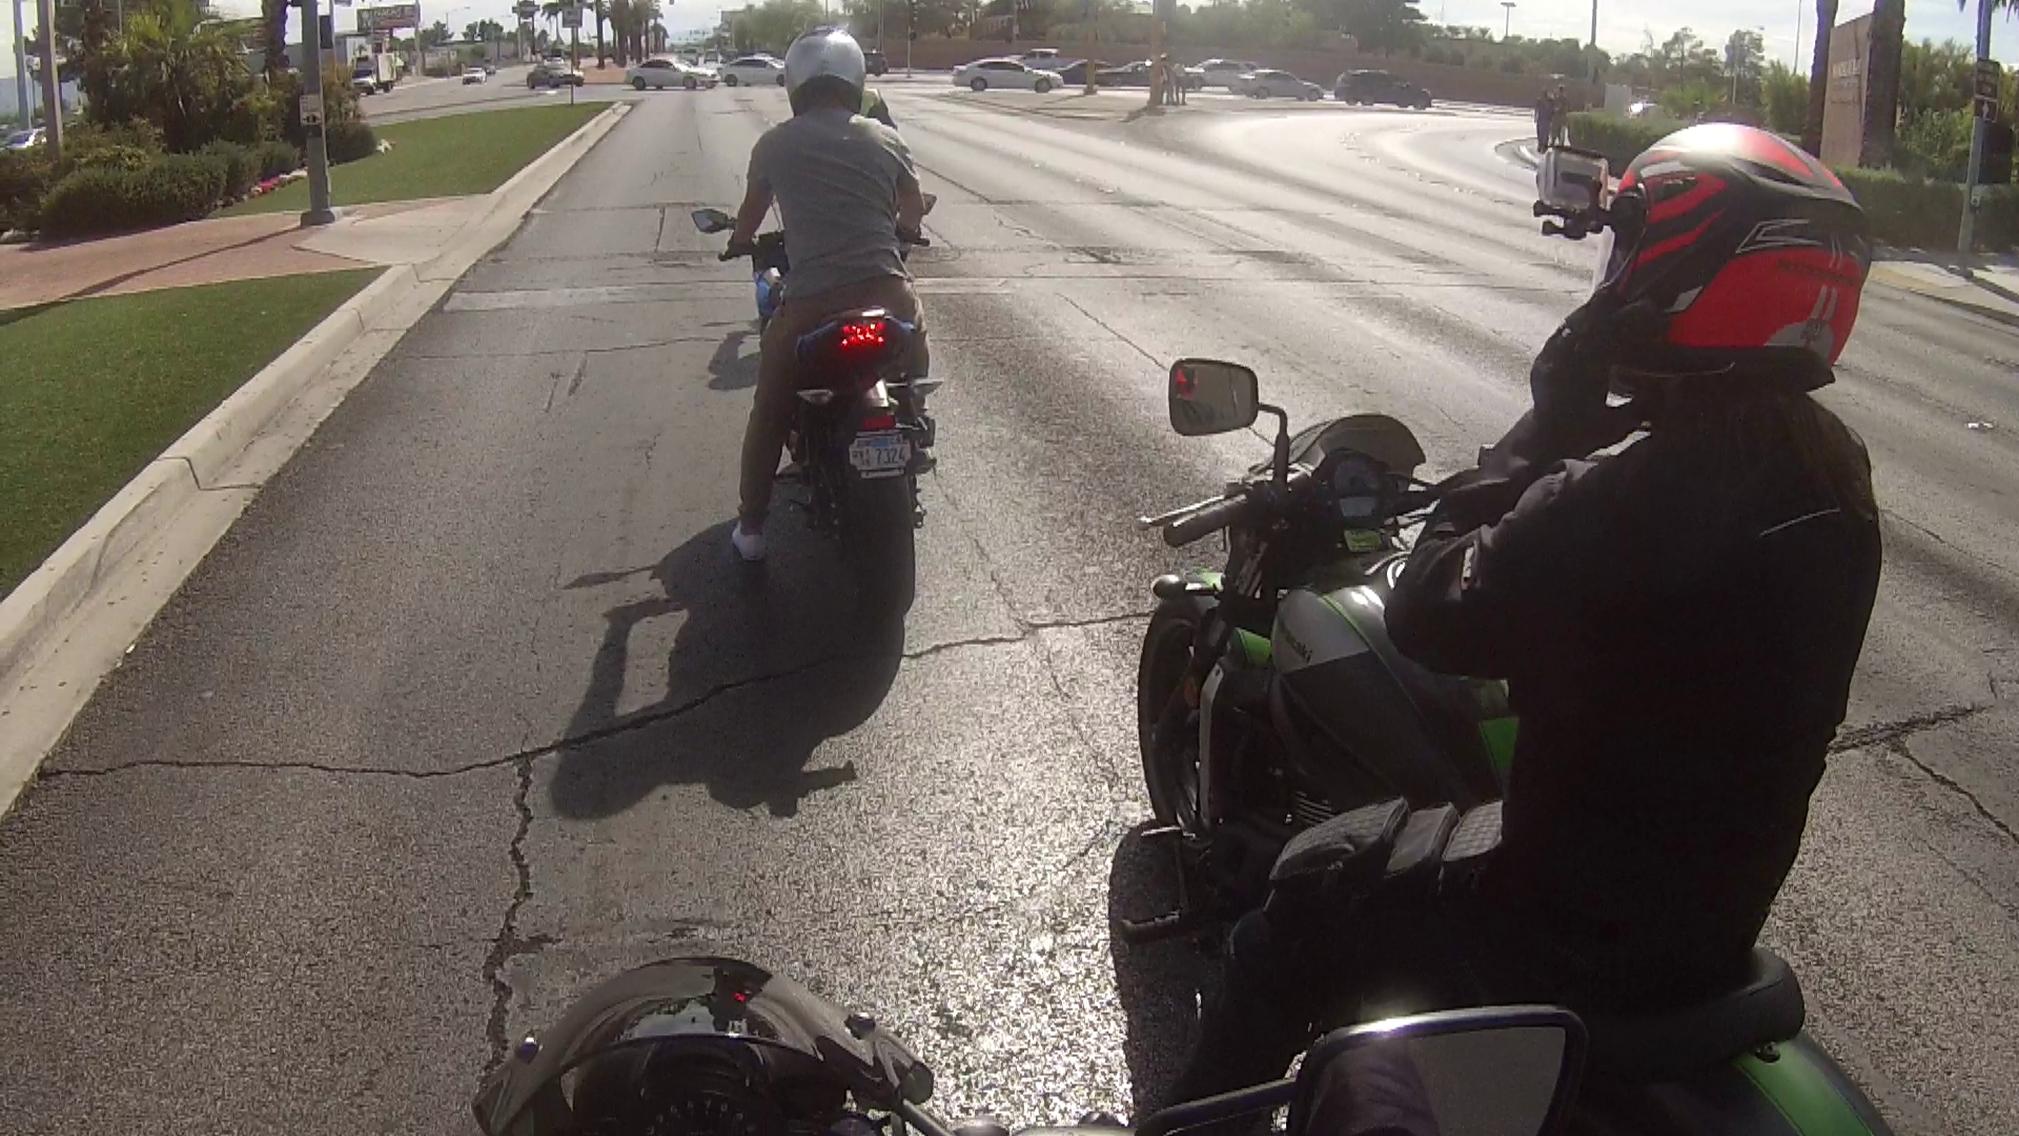
🏍️ Why Pre‑Ride Checks Matter
A motorcycle is more than a machine, it’s a finely balanced system. Unlike cars, bikes don’t have four wheels, crumple zones, or airbags to forgive mechanical neglect. That’s why a quick pre‑ride check is one of the smartest habits a rider can build. It takes less than five minutes, but it can prevent hours in a hospital or days stranded on the roadside.
In fact, many rider training programs worldwide (including the MSF in the USA and Canada’s Gearing Up program) teach a pre‑ride inspection as a core skill. The logic is simple: catch small problems before they become big ones.
📜 A Brief History of Pre‑Ride Checks
- Early 1900s: Riders carried toolkits and expected to wrench daily, checks were survival, not optional.
- 1950s–70s: As motorcycles became mainstream, manufacturers began publishing “daily inspection” lists in owner’s manuals.
- 1980s–90s: Rider training organizations formalized the process into acronyms like T‑CLOCS (Tires, Controls, Lights, Oil, Chassis, Stands).
- Today: Pre‑ride checks are faster, easier, and often overlooked, but still critical.
🚫 Myth‑Busters
✅ Reality: Even new bikes can have low tire pressure, loose bolts, or fluid leaks. Technology helps, but vigilance saves rides.
✅ Reality: By the time you notice, it’s often too late. A nail in a tire or a loose lever is best caught before the ride.
✅ Reality: A practiced pre‑ride check takes under 5 minutes, less time than fueling up.
📊 Safety Standards at a Glance
Pre‑ride checks aren’t just tradition, they’re backed by safety data. Organizations like the MSF (Motorcycle Safety Foundation), Transport Canada, and FEMA (Federation of European Motorcyclists’ Associations) all recommend a structured inspection before every ride. Here’s how the essentials line up:
| Category | What to Check | Why It Matters |
|---|---|---|
| Tires | Pressure, tread, cracks, nails | Low pressure = poor handling, blowouts |
| Brakes | Lever feel, pad wear, fluid level | Stopping distance doubles with worn pads |
| Lights | Headlight, brake light, turn signals | Visibility prevents collisions |
| Fluids | Oil, coolant, brake fluid | Low fluids = overheating, brake fade |
| Controls | Throttle, clutch, cables, levers | Loose or sticking controls = loss of control |
Think of this checklist as your pre‑flight inspection. Pilots never skip theirs, and neither should riders. Five minutes of attention here can save your ride, or your life, out there.
🏍️ Let’s start from the ground up, with your tires.
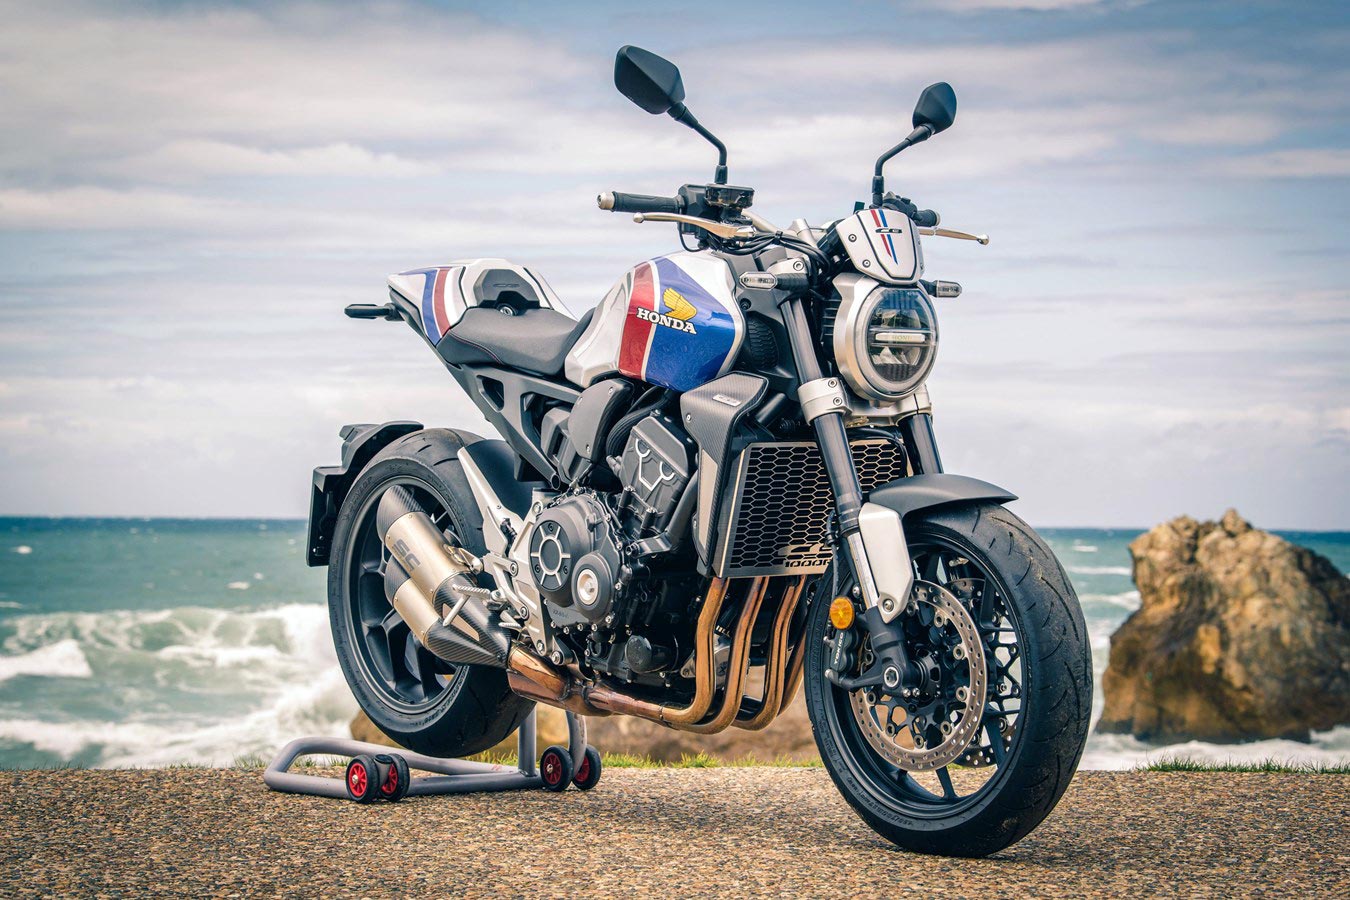
Tires
Your only contact with the road, two palm‑sized patches of rubber that carry your life at speed.
A Brief History of Motorcycle Tires
Early motorcycles in the 1900s used bicycle‑style tires, narrow, fragile, and prone to punctures. As bikes grew heavier and faster, tire technology evolved: bias‑ply tires dominated mid‑century, offering durability but limited grip. By the 1980s, radial tires revolutionized performance, with steel belts and advanced compounds. Today, tires are specialized: sport, touring, ADV, cruiser, and even winter compounds.
🔍 What to Check Before Every Ride
- Pressure: Use a gauge, don’t trust your eyes. Even 2–3 psi off affects handling.
- Tread Depth: Look for wear bars or use a coin test. Minimum safe depth: 1.5 mm (2/32″).
- Cracks & Dry Rot: Rubber ages, even if tread looks fine. Replace after ~5 years.
- Foreign Objects: Nails, screws, or cuts can cause slow leaks or blowouts.
- Even Wear: Flat spots from highway miles or cupping from mis‑inflation are red flags.
📊 Tire Safety Standards
Tires are tested under international standards for load, speed, and durability. Look for these markings on your sidewall:
| Marking | Meaning | Example |
|---|---|---|
| DOT | US Department of Transportation approval | DOT M5AB 3523 (week 35, 2023) |
| ECE | European safety certification | E4 75R‑001234 |
| Load Index | Max weight per tire | 73 = 365 kg |
| Speed Rating | Max safe speed | W = 270 km/h |
For beginners, the key is simple: check pressure before every ride, and replace tires when worn or aged, not just when bald.
🚫 Tire Myth‑Busters
✅ Reality: Rubber hardens and cracks with age. Even with deep tread, a 6‑year‑old tire can fail suddenly.
✅ Reality: A tire can be 20% underinflated and still look “normal.” Always use a gauge.
✅ Reality: Even brand‑new tires can lose pressure overnight or pick up a nail on the first ride.
✅ Beginner Tire Checklist
- Check pressure with a gauge before every ride
- Inspect tread depth (1.5 mm minimum)
- Look for cracks, bulges, or dry rot
- Scan for nails, screws, or cuts
- Replace tires every 5–6 years regardless of tread
Tires are your lifeline. Two hand‑sized patches of rubber are all that connect you to the road. Treat them with respect, and they’ll reward you with grip, stability, and confidence.
🏍️ With your tires checked, let’s move on to the next critical system, your brakes.
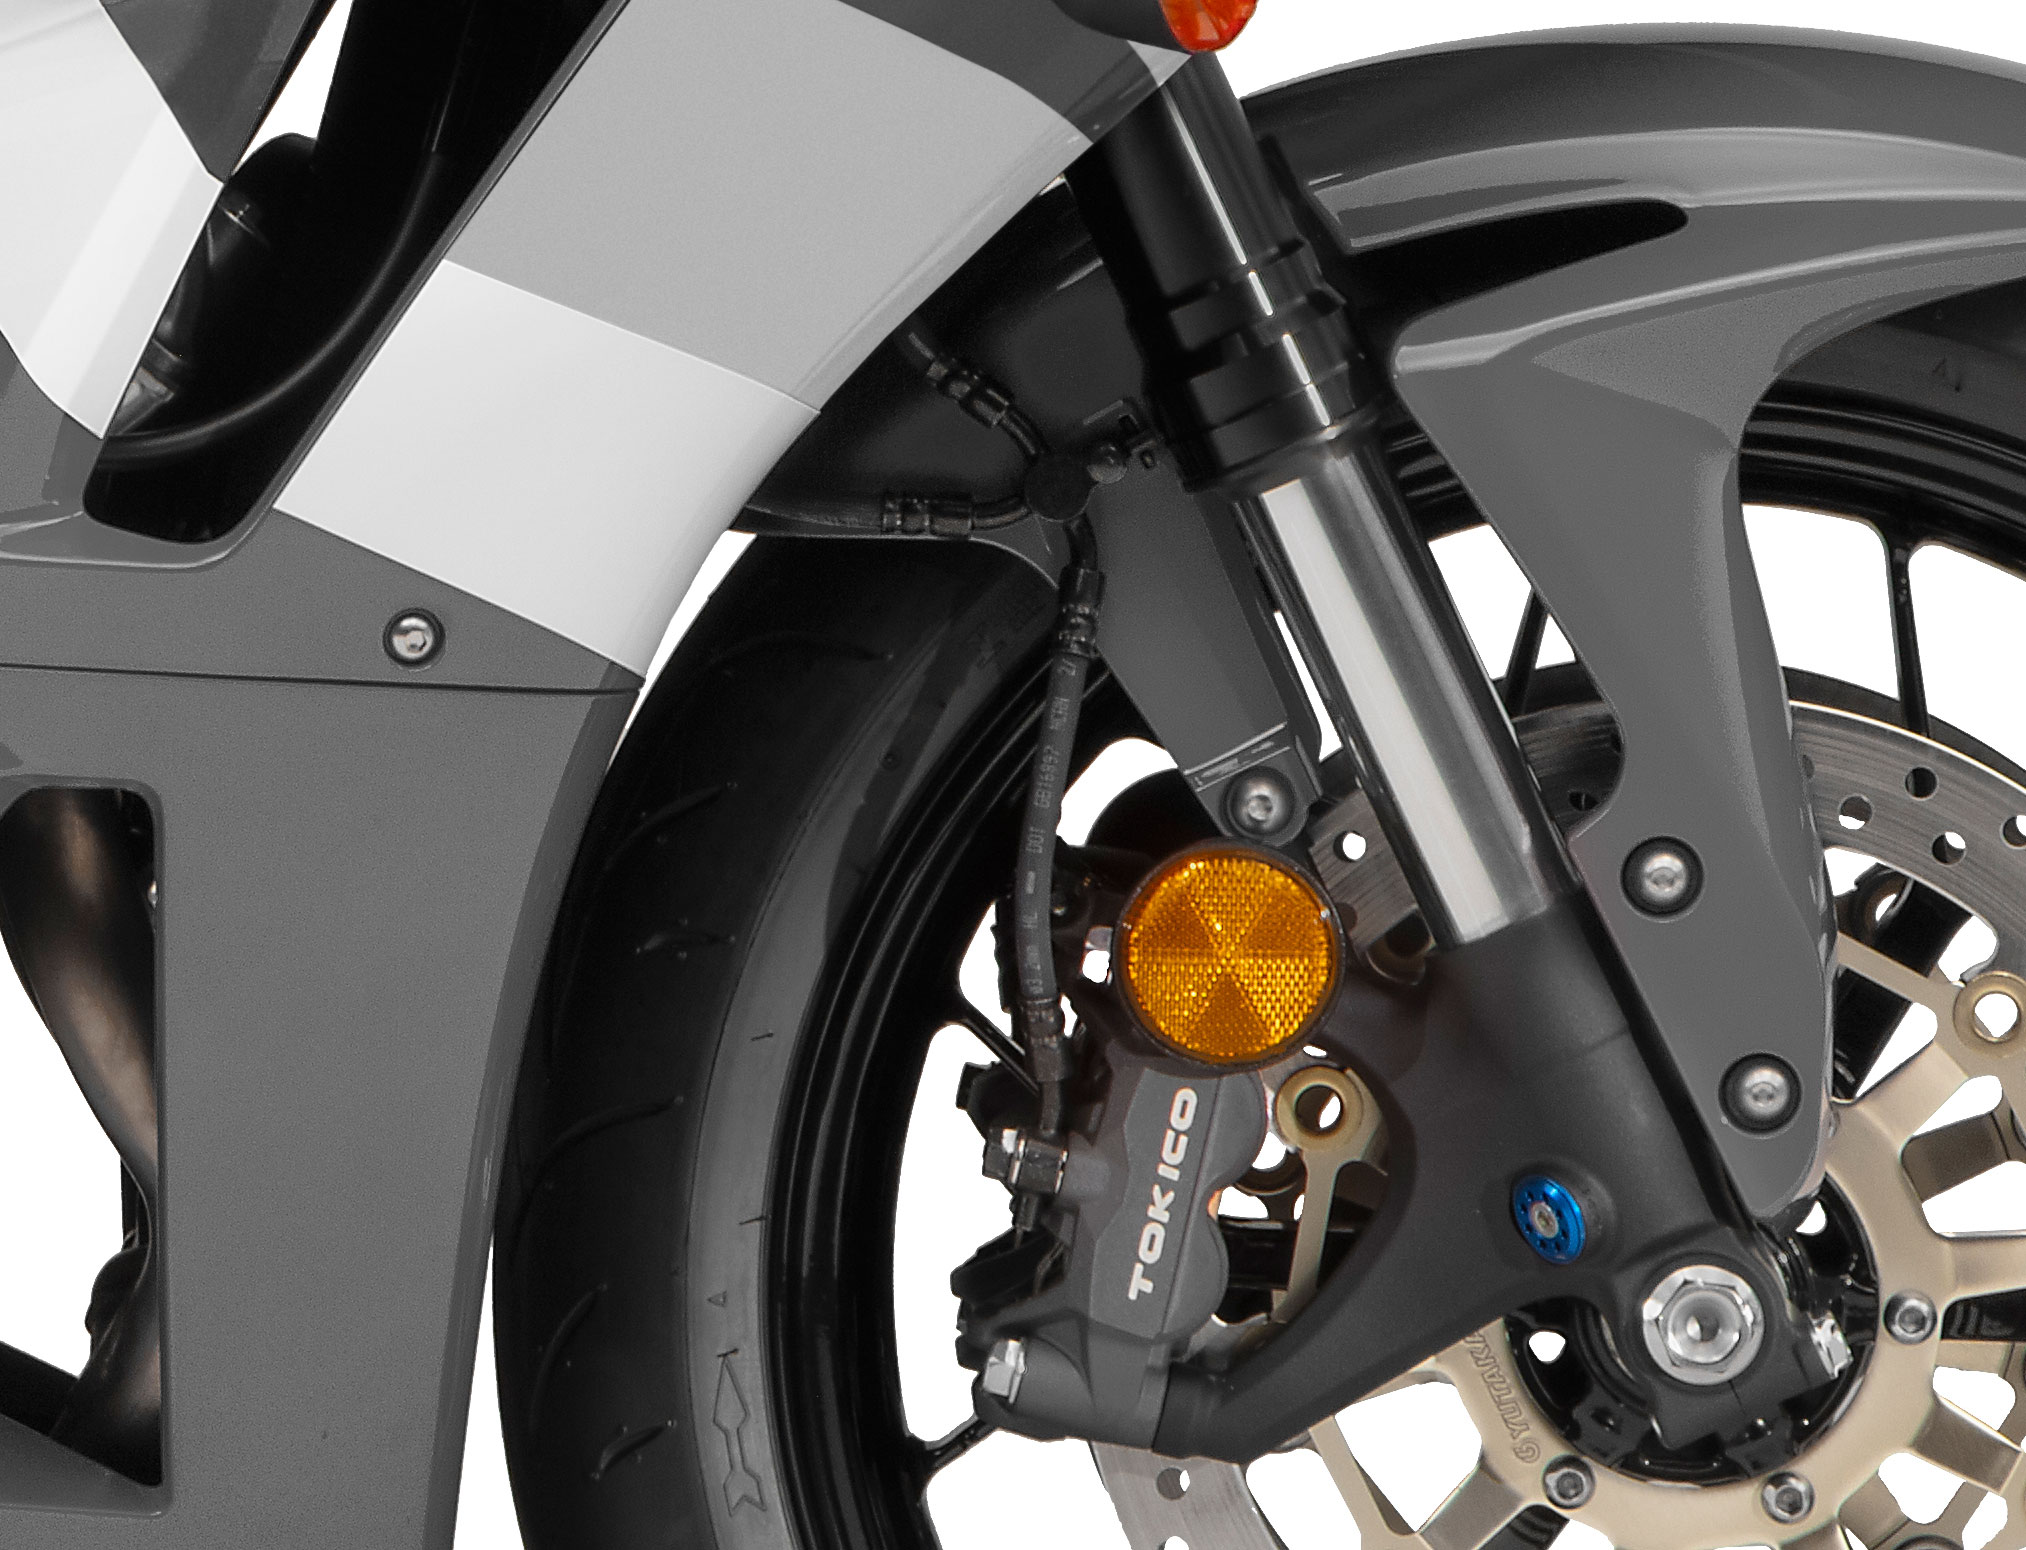
Brakes
Your brakes are your lifeline. They’ve evolved from squeaky drums to high‑tech ABS discs, but they still need your attention before every ride.
A Brief History of Motorcycle Brakes
Early motorcycles in the 1900s used drum brakes, simple, enclosed systems that worked but faded quickly under heat. By the 1970s, disc brakes became standard, offering stronger, more consistent stopping power. Today, most bikes feature dual discs up front, single discs in the rear, and increasingly, ABS (Anti‑lock Braking Systems) for added safety.
ABS, once reserved for premium models, is now mandatory in many regions for bikes over 125cc. Studies show ABS reduces fatal crashes by up to 31%, a huge leap in rider safety.
🔍 What to Check Before Every Ride
- Lever & Pedal Feel: Firm, not spongy. Spongy feel = air in the lines.
- Pad Thickness: Look through the caliper, replace if less than 2–3 mm.
- Fluid Level: Check reservoirs; fluid should be clear, not dark or murky.
- Rotors: Smooth, not grooved or warped.
- Brake Light: Confirm it activates with both lever and pedal.
📊 Brake Safety Standards
Brakes are tested under international regulations for stopping distance and fade resistance. ABS systems are also certified for reliability. Here’s a quick look:
| Standard | Region | What It Covers |
|---|---|---|
| FMVSS 122 | USA | Stopping distance, fade, ABS performance |
| ECE R78 | Europe | Braking efficiency, ABS, wet/dry testing |
| JASO T203 | Japan | Brake pad performance, wear, fade |
For beginners, the key is simple: firm lever feel, healthy pads, clear fluid. If anything feels off, don’t ride until it’s fixed.
🚫 Brake Myth‑Busters
✅ Reality: The front brake provides ~70% of stopping power. Used correctly, it shortens stopping distance and improves control.
✅ Reality: ABS prevents wheel lock, but it can’t fix worn pads, low fluid, or seized calipers.
✅ Reality: Brake fluid absorbs moisture over time, lowering boiling point and causing fade. Replace every 2 years.
✅ Beginner Brake Checklist
- Firm lever and pedal feel (no sponginess)
- Pad thickness at least 2–3 mm
- Fluid clear and at proper level
- Rotors smooth, not grooved or warped
- Brake light activates with both lever and pedal
Brakes are your emergency parachute. A quick squeeze test before every ride ensures they’ll be there when you need them most.
🏍️ With your brakes confirmed, let’s light the way forward, time to check your lights.
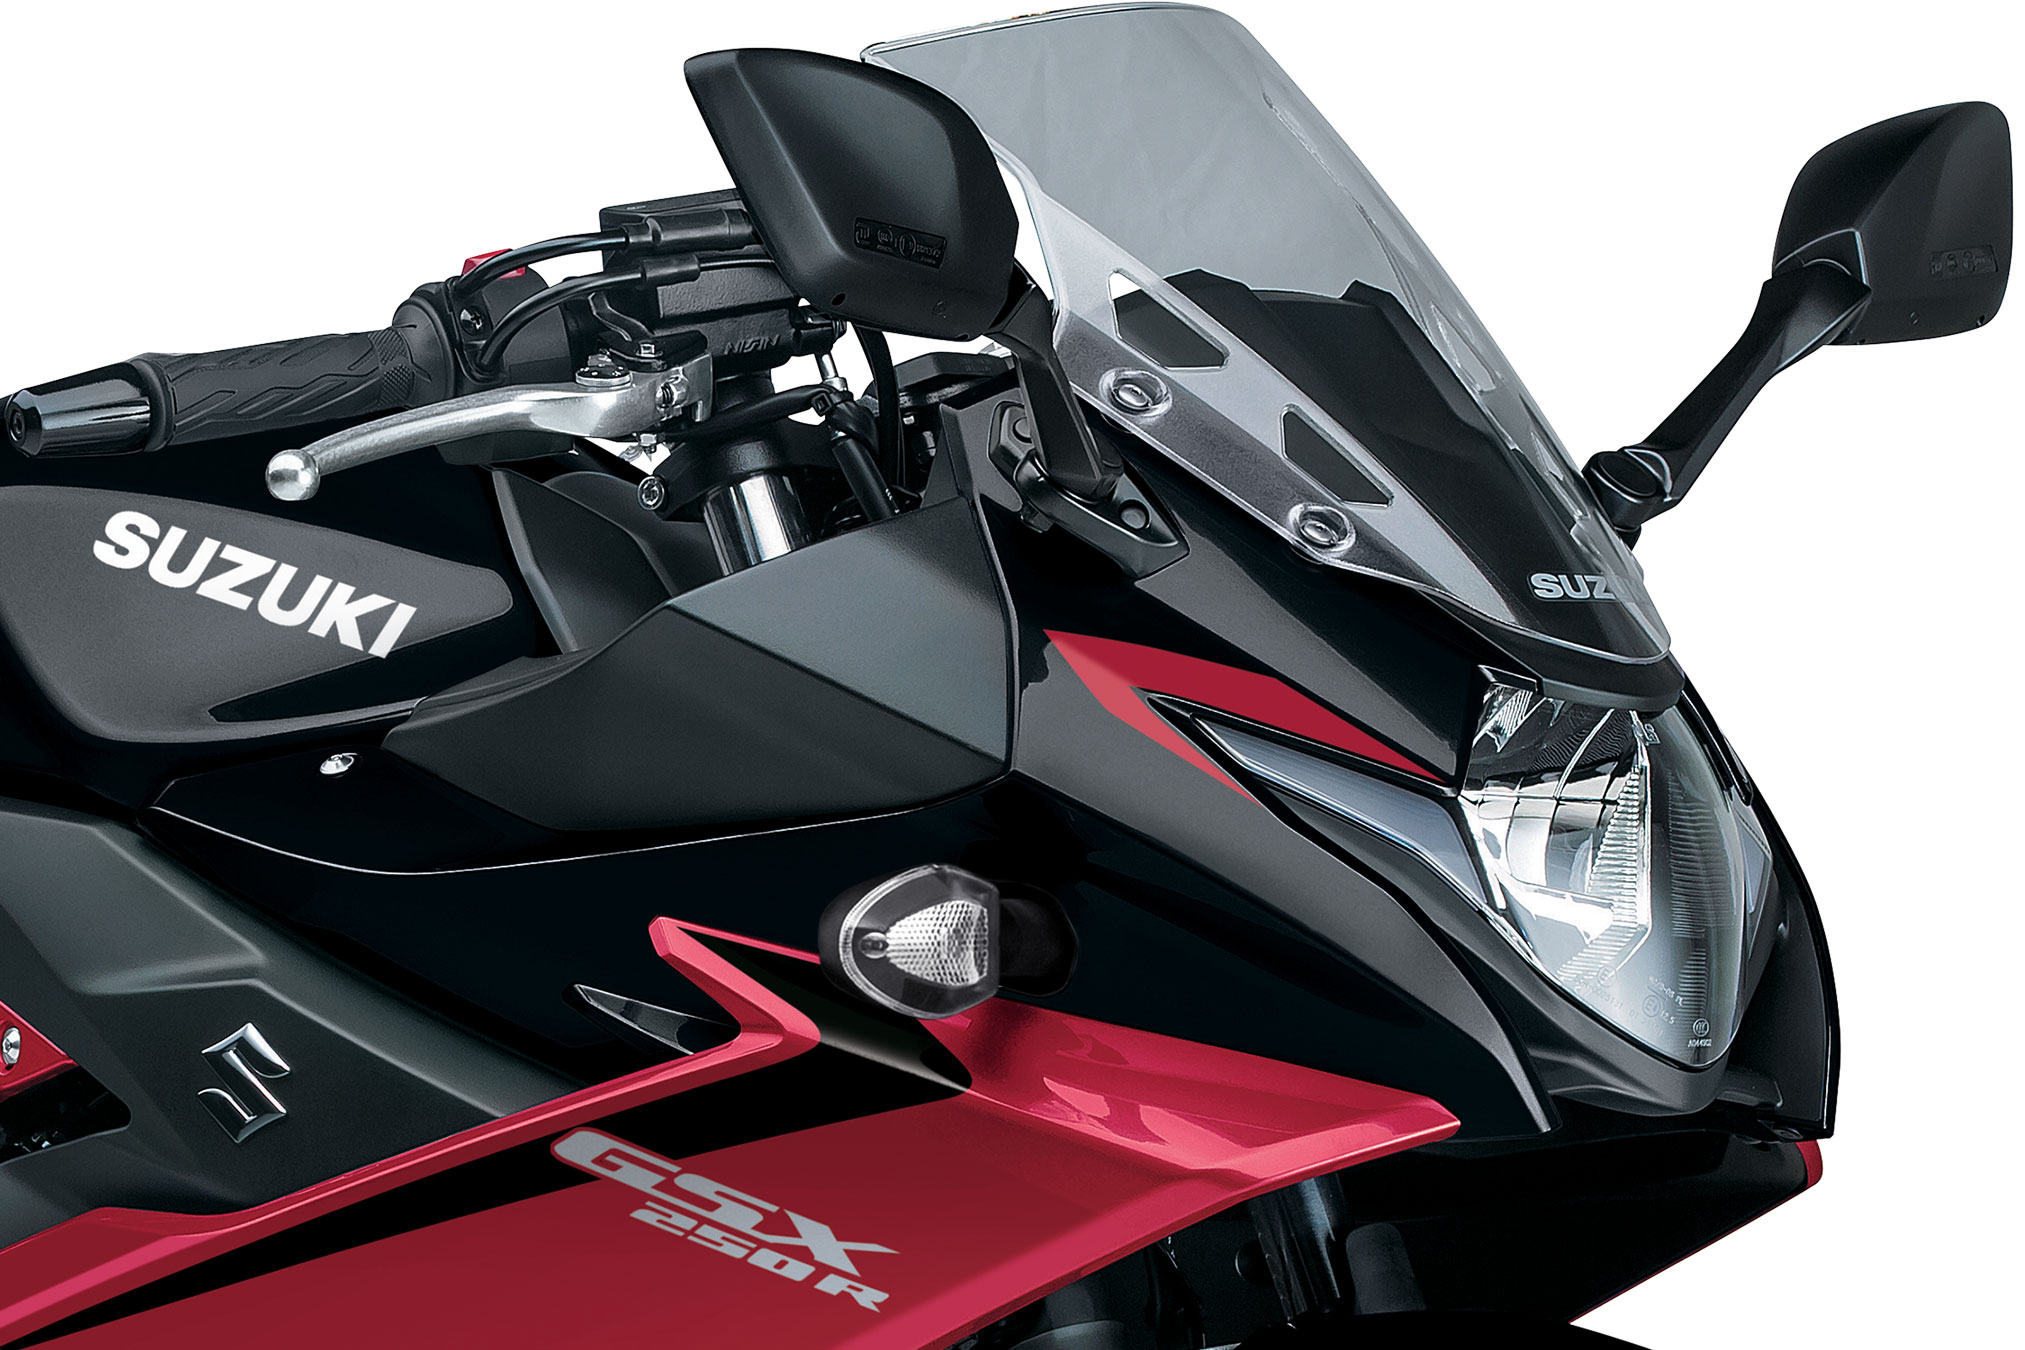
Lights
See and be seen, your lights are your voice on the road. They shout “I’m here!” louder than any horn.
A Brief History of Motorcycle Lights
Early motorcycles relied on acetylene lamps in the 1900s, basically lanterns strapped to handlebars. By the 1920s, electric headlights became standard, though dim and unreliable. The 1970s brought halogen bulbs, a huge leap in brightness. Today, LED and adaptive headlights dominate, offering longer life, lower power draw, and even cornering illumination.
🔍 What to Check Before Every Ride
- Headlight: Low and high beam both working.
- Brake Light: Activates with both lever and pedal.
- Turn Signals: All four flash, not hyper‑flashing.
- License Plate Light: Required in most regions.
- Lens Condition: No cracks, fogging, or dirt blocking output.
📊 Lighting Safety Standards
Motorcycle lighting is regulated worldwide for brightness, beam pattern, and visibility:
| Standard | Region | What It Covers |
|---|---|---|
| FMVSS 108 | USA | Headlight brightness, beam pattern, signal visibility |
| ECE R53 | Europe | Headlamp aim, daytime running lights, rear visibility |
| CMVSS 108 | Canada | Mirrors US standards with bilingual labeling |
For beginners, the rule is simple: if you can’t see clearly, or others can’t see you, don’t ride until it’s fixed.
🚫 Light Myth‑Busters
✅ Reality: Many bikes use dual beams for safety. A burned‑out bulb halves your visibility and makes you less noticeable.
✅ Reality: LEDs last longer, but wiring, fuses, or connectors can still fail. Always check before riding.
✅ Reality: Brake lights are legally required and far more visible than hand gestures.
✅ Beginner Lights Checklist
- Headlight: low + high beam working
- Brake light: activates with lever + pedal
- Turn signals: all four flash correctly
- License plate light: illuminated
- Lenses: clean, no cracks or fogging
Lights are your language on the road. A quick walk‑around check ensures you’re visible, predictable, and legal.
🏍️ With your lights shining bright, let’s check the lifeblood of your bike, fluids.
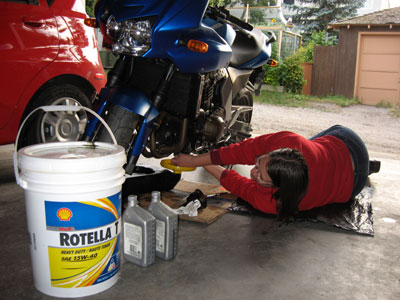
Fluids
Engines don’t run on fuel alone, oil, coolant, and brake fluid keep your bike alive and responsive.
A Brief History of Motorcycle Fluids
Early motorcycles often ran with minimal lubrication systems, “total loss” oiling meant the engine literally burned or leaked oil as it ran.
Riders carried bottles of oil and topped up constantly. By the mid‑20th century, pressurized oil systems and sealed cooling systems became standard, dramatically improving reliability. Today, synthetic oils, long‑life coolants, and high‑performance brake fluids keep modern bikes running smoother and longer, but only if checked regularly.
🔍 What to Check Before Every Ride
- Engine Oil: Check level via dipstick or sight glass. Oil should be between min/max marks, not milky or black sludge.
- Coolant: Inspect reservoir level. Low coolant = overheating risk.
- Brake Fluid: Check front and rear reservoirs. Fluid should be clear to light amber, not dark or cloudy.
- Leaks: Quick scan under the bike for drips or puddles.
- Fuel: Obvious, but don’t forget, especially on carbureted bikes without fuel gauges.
📊 Fluid Safety Standards
Fluids are tested for heat resistance, longevity, and compatibility. Here’s a quick reference:
| Fluid | Standard | Key Notes |
|---|---|---|
| Engine Oil | JASO MA/MA2 | Motorcycle‑specific, safe for wet clutches |
| Coolant | OEM Spec | Ethylene glycol or propylene glycol; check manual |
| Brake Fluid | DOT 3 / 4 / 5.1 | Higher DOT = higher boiling point (never mix DOT 5 silicone with others) |
For beginners, the golden rule is: top up, keep it clean, and replace on schedule. Fluids are cheap insurance against expensive failures.
🚫 Fluid Myth‑Busters
✅ Reality: Even synthetic oil breaks down with heat and contamination. Follow service intervals.
✅ Reality: Coolant prevents both overheating and freezing. It also stops corrosion inside your engine.
✅ Reality: Old fluid absorbs moisture, lowering boiling point and risking brake fade, even if the level looks good.
✅ Beginner Fluids Checklist
- Oil level between min/max, clean in color
- Coolant at proper level in reservoir
- Brake fluid clear, not dark or cloudy
- No leaks under the bike
- Fuel topped up for the ride
Fluids are the hidden heroes of your motorcycle. They don’t just keep the bike running, they keep it safe, cool, and responsive. A 30‑second glance can save you from a seized engine or brake failure.
🏍️ With fluids checked, let’s finish the pre‑ride ritual by testing your controls.
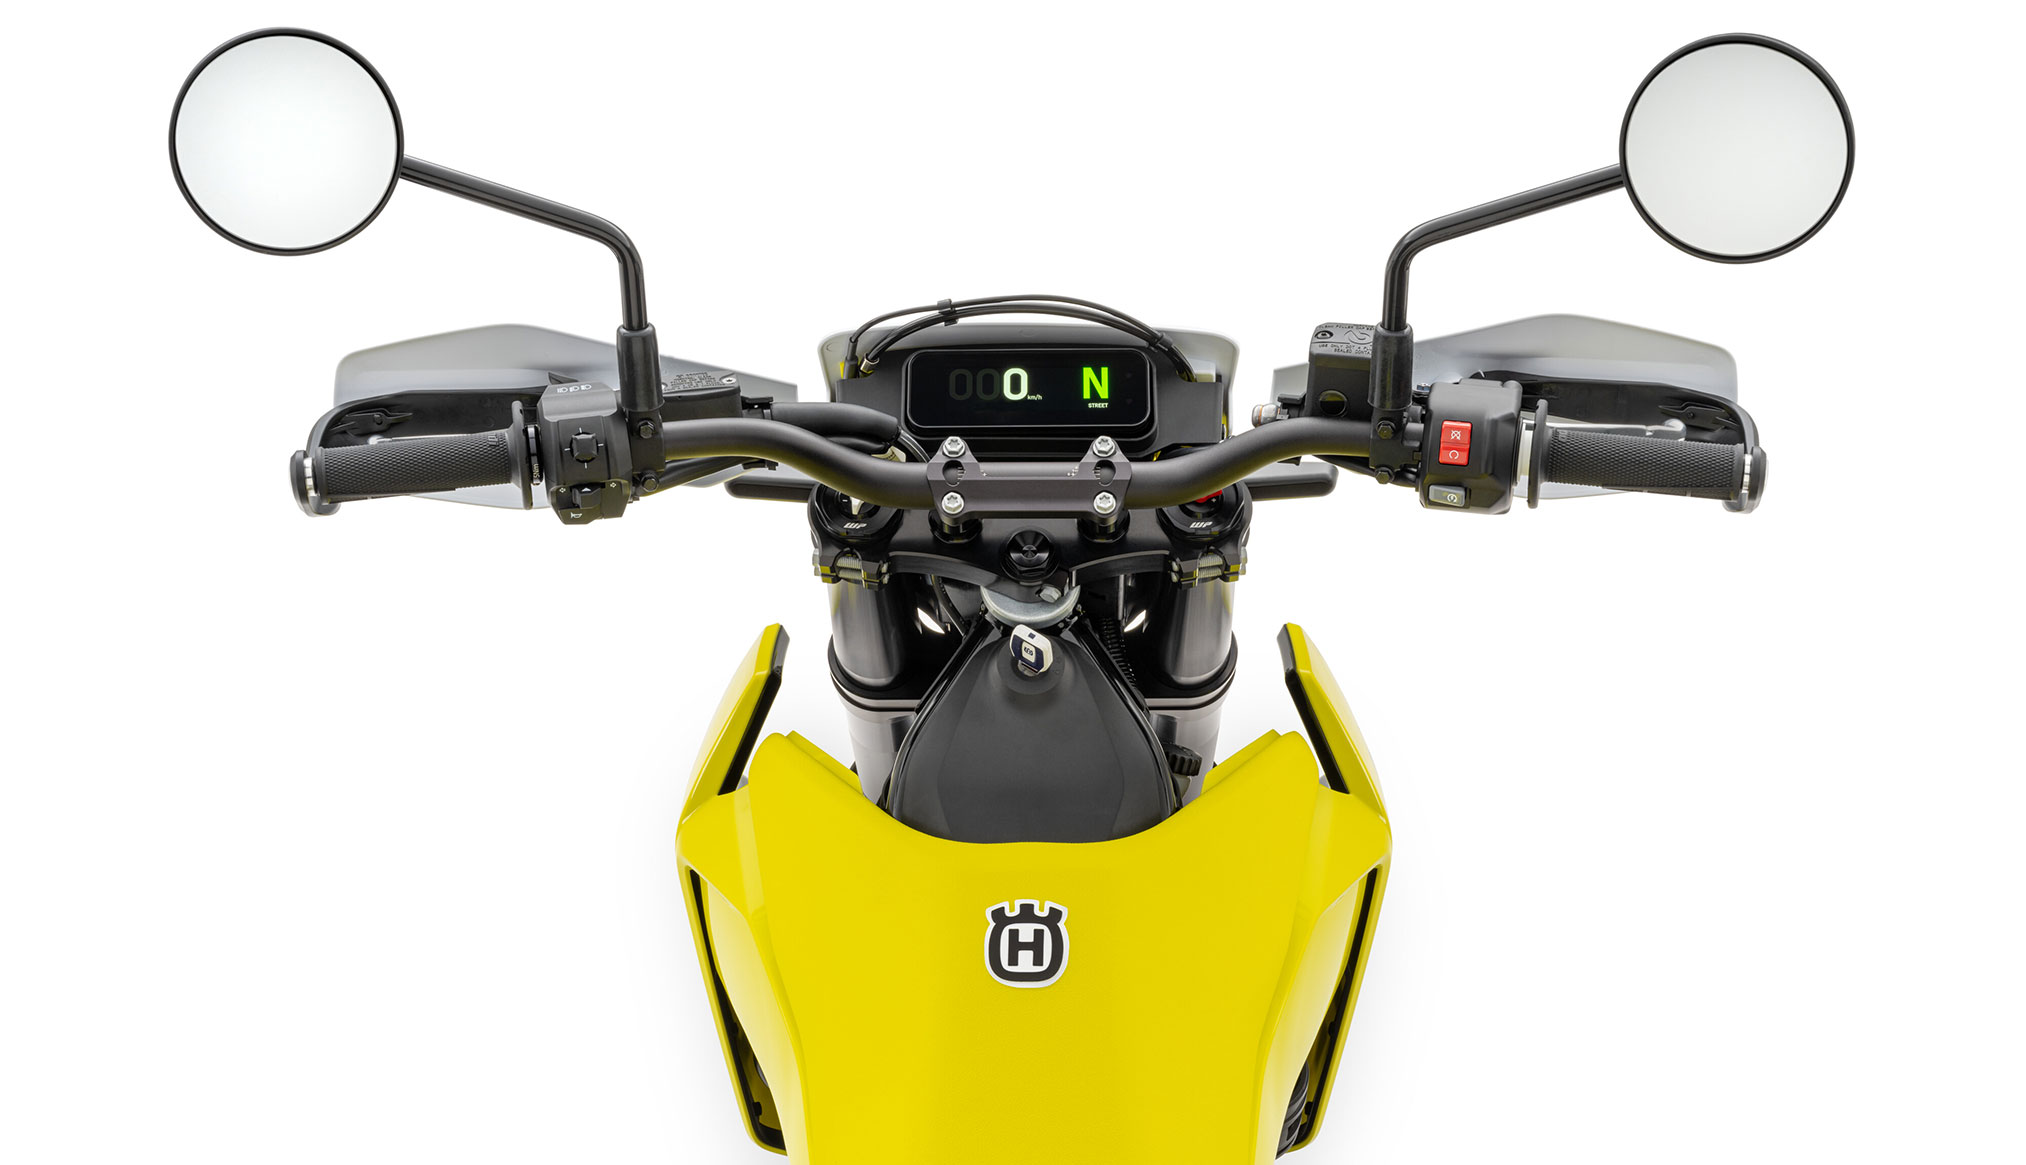
Controls
Your hands and feet are the command center. If controls stick, slip, or fail, the ride ends fast.
A Brief History of Motorcycle Controls
Early motorcycles borrowed heavily from bicycles, simple throttle levers, rudimentary clutch systems, and even pedals. By the 1930s, standardized layouts emerged: throttle on the right, clutch on the left, gearshift by foot. Over time, hydraulic clutches, electronic throttles, and adjustable levers improved precision and comfort. Today, ride‑by‑wire systems and quickshifters are common, but the basics remain the same: smooth, reliable control inputs.
🔍 What to Check Before Every Ride
- Throttle: Snaps back smoothly when released. No sticking or lag.
- Clutch Lever: Smooth pull, proper free play (usually 2–3 mm at lever tip).
- Brake Lever & Pedal: Firm feel, no excessive travel.
- Cables: No fraying, kinks, or binding.
- Switches: Kill switch, horn, and starter all functional.
📊 Control Safety Standards
While not as heavily regulated as tires or brakes, controls are tested for durability and reliability under standards like:
| Standard | Region | What It Covers |
|---|---|---|
| JASO C301 | Japan | Cable strength, durability, and free play |
| ISO 6722 | International | Electrical wiring durability for switches |
| OEM Specs | Global | Manufacturer‑specific lever and switch tolerances |
For beginners, the key is simple: smooth, responsive, and predictable controls. If anything feels sticky, loose, or stiff, fix it before riding.
🚫 Control Myth‑Busters
✅ Reality: A sticking throttle is dangerous. If it doesn’t snap back instantly, don’t ride until it’s fixed.
✅ Reality: Too tight = clutch slip. Too loose = dragging clutch. Both reduce control and wear parts prematurely.
✅ Reality: A dead starter button or kill switch can leave you stranded. Quick checks prevent surprises.
✅ Beginner Controls Checklist
- Throttle snaps back smoothly
- Clutch lever has proper free play
- Brake lever and pedal feel firm
- Cables intact, no fraying or binding
- Switches (horn, starter, kill) all functional
Controls are your direct connection to the machine. Smooth inputs equal smooth riding, and a quick check ensures nothing interrupts that connection.
🏍️ With tires, brakes, lights, fluids, and controls all checked, let’s pull it together into one quick‑reference table and wrap up.
Quick Reference Pre‑Ride Checklist
Screenshots, printouts, or taped to the garage wall, here’s your one‑page ritual before every ride.
| Category | Check | Why It Matters |
|---|---|---|
| 🛞 Tires | Pressure, tread, cracks, nails | Grip + stability; prevents blowouts |
| 🛑 Brakes | Lever feel, pad wear, fluid, lights | Stopping power when you need it most |
| 💡 Lights | Headlight, brake light, signals, plate | See + be seen; legal compliance |
| 🛢️ Fluids | Oil, coolant, brake fluid, leaks | Engine health + brake reliability |
| 🎛️ Controls | Throttle, clutch, cables, switches | Predictable, smooth inputs = safe riding |
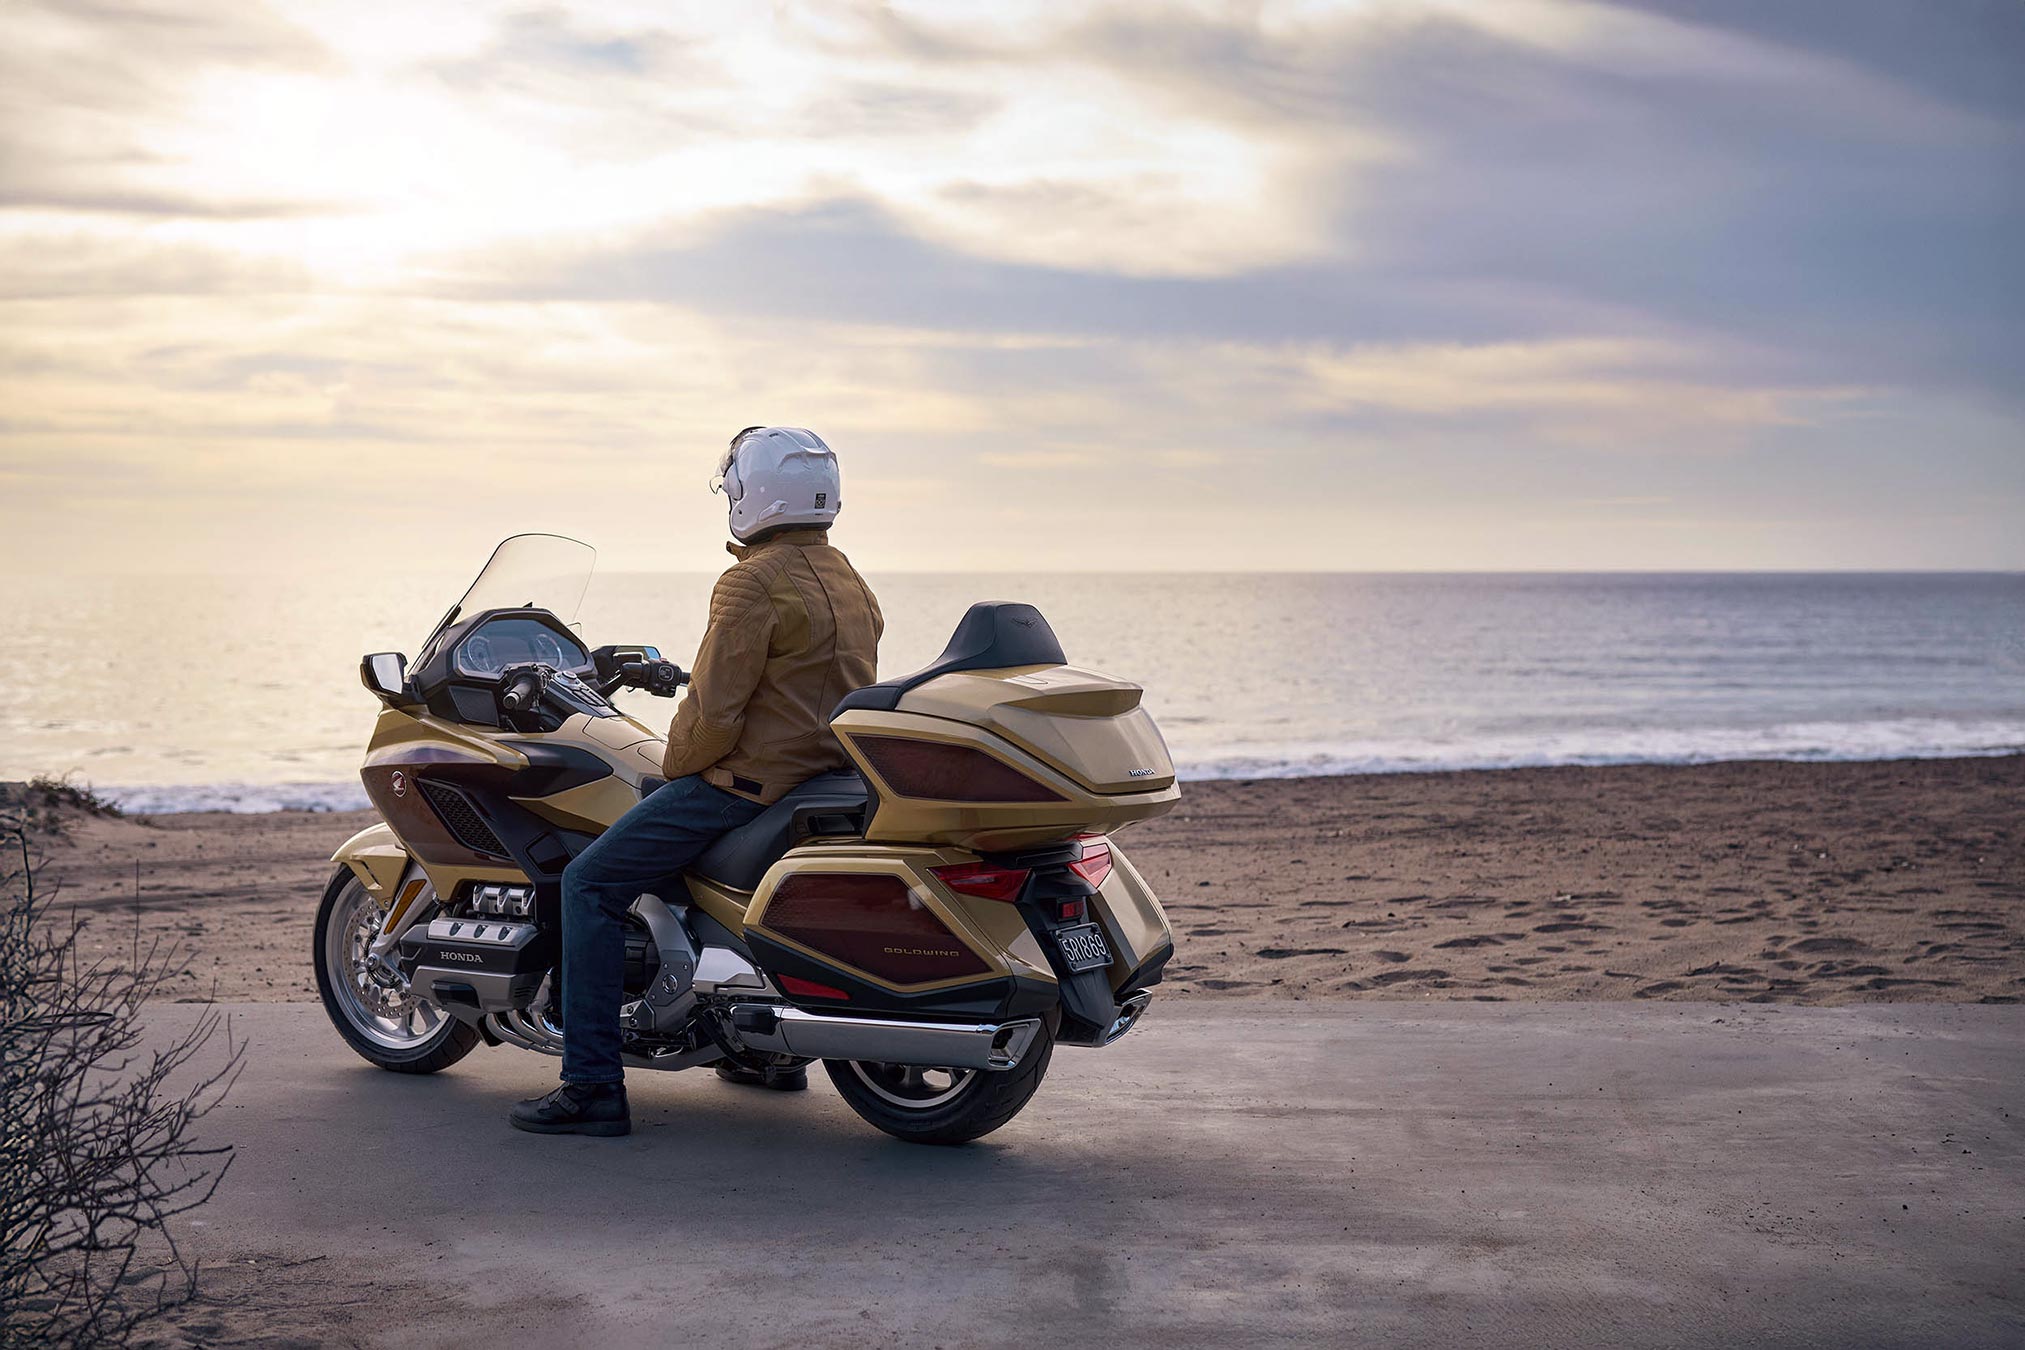
🏁 Outro: Pre‑Ride Ritual = Peace of Mind
A pre‑ride check isn’t busywork, it’s a ritual. Pilots do it before every flight, and riders should too. Five minutes in the driveway means fewer surprises on the road, and more confidence in every corner.
In our Beginner’s Gear Checklist, we showed how equipment protects your body. Here, in the Pre‑Ride Safety Checklist, we’ve shown how quick inspections protect your machine. Together, they form the foundation of safe, confident riding.
Remember: motorcycles reward attention. The more care you give them before the ride, the more freedom they give you during it.
🏍️ Ride smart. Ride safe. Ride free. Your pre‑ride ritual is your ticket to adventure.
